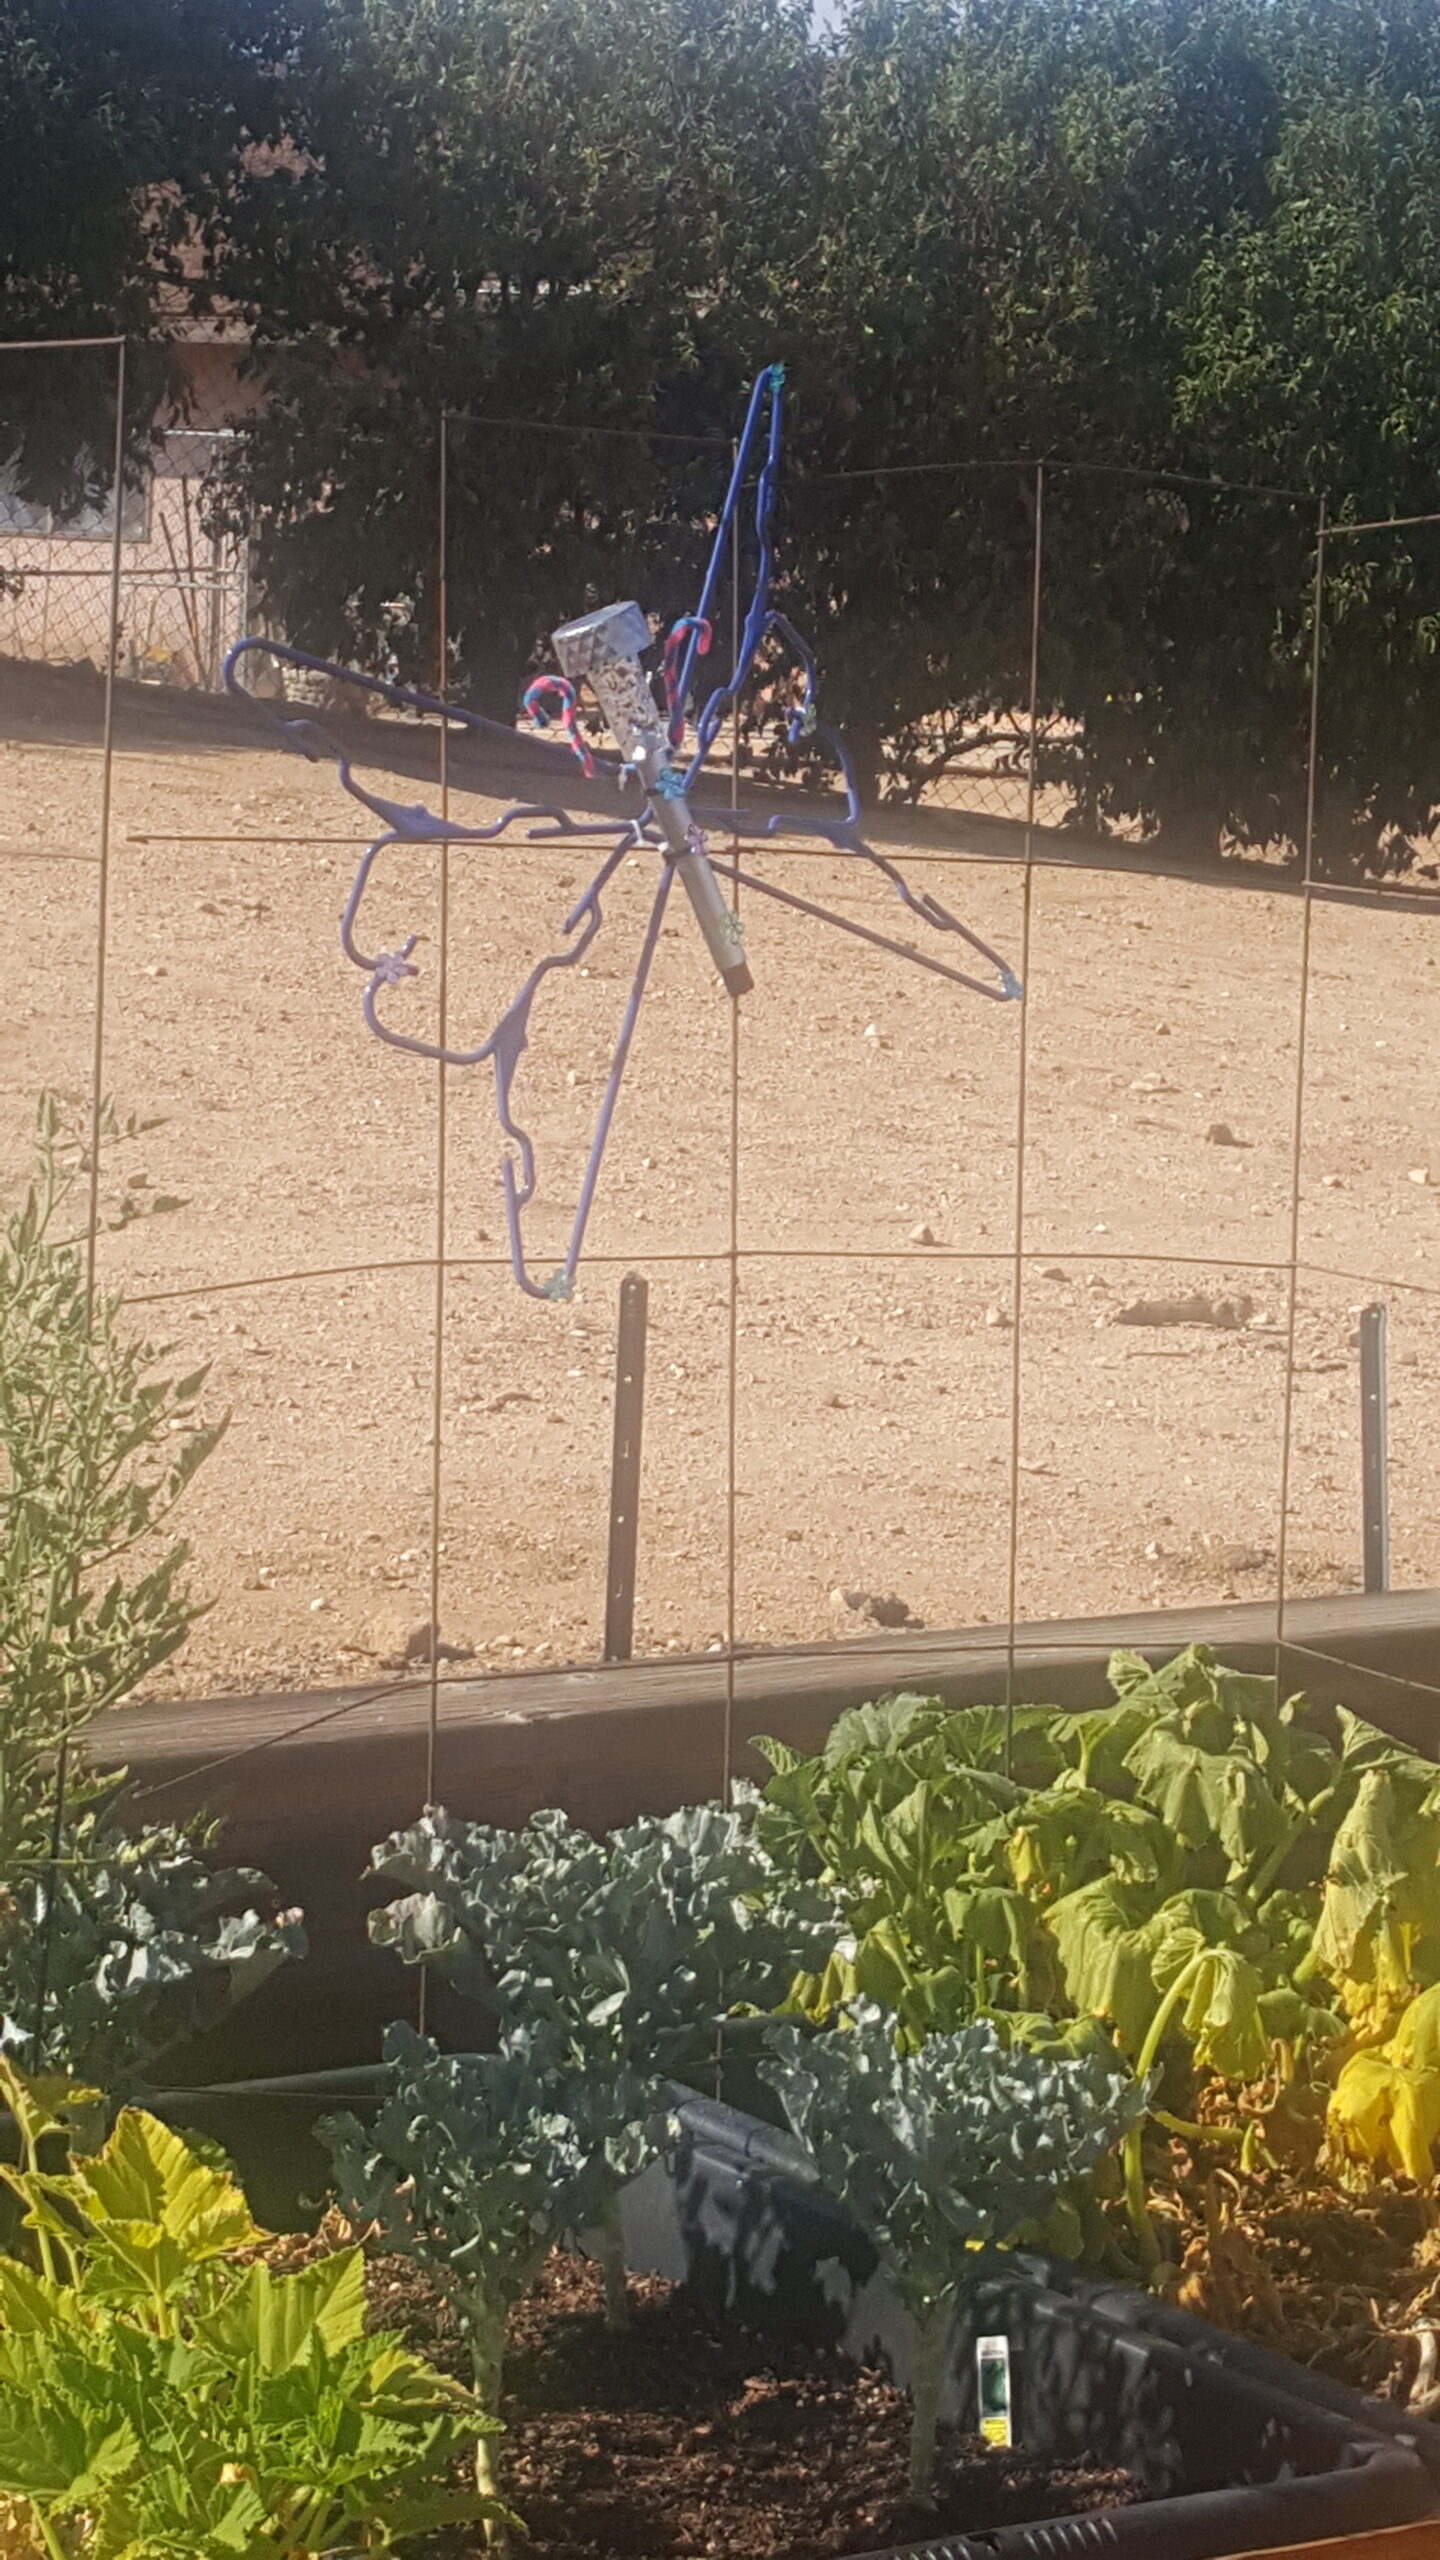
Easy Butterfly Craft For Kids – Garden Solar Light
This post may contain affiliate links. Read my full disclosure policy here.
DIY Dollar Tree crafts have become very popular lately or maybe they have been for a while and I am just catching on!
Curious to what craft items are available, I have been going into the different Dollar Trees that are near me (we actually have a bunch). They all seem to have the same basic stuff but have different embellishments and are so much cheaper than craft stores like Michaels.
As I was out today with my sis, we went into a Dollar Tree on the way home from running errands and picked up the supplies to make a DIY Dollar Tree easy butterfly craft for kids, which also happens to be a garden solar light.

If you haven't been to a Dollar Tree lately, you really need to check them out as they have an awesome selection of craft supplies.
Yes! Everything's a dollar!
While I was shopping I found a few more awesome items for a different craft project that I can't wait to make. It's a rustic farmhouse picture frame (at least it will be when I'm done). Okay, enough about my upcoming project. Let's get started making this DIY Dollar Tree easy butterfly craft for kids - garden solar light!
What You Need To Make A Solar Butterfly Garden Light
Supplies Needed:
- 4 Small Hangers ( the ones for baby clothes)
- Zip Ties (I used 4 inch and 7.5 inch)
- Pipe Cleaners
- Bling
- Solar Light
- Glue Gun
- Glue Sticks
- Scissors

This solar butterfly garden light that is also a great arts and crafts project for kids, cost me all of $3.00 since I already had a few of the items at home.
Just wait until you make one or more! They look really cute hanging on a backyard fence or from a raised vegetable garden.
You can actually make two butterfly garden solar lights as the hangers come in a ten pack and you only need four hangers for each butterfly.
DIY Dollar Tree Craft Instructions
- Get your four baby hangers, any color that you want. The Dollar Tree I went to had blue and pink hangers.

2. Take two of the hangers and place the tops together to form a heart.

3. Repeat the process with the other two hangers.
4. Next, you will zip tie the bottom together and the top. I used the 4-inch zip ties.

5. Repeat the process with the other two hangers.

6. Next, you will attach both sets of hangers together with zip ties. You should start to see the formation of your butterfly.

7. Now that your hangers are all tied together, it's time to zip tie on the solar light. I used 7.5-inch black zip ties since it's what I had on hand and the 4 inch ones were too small.


8. Now that everything is attached with zip ties, you can cut off the long ends. I also turned the zip tie so the base is facing the back.
9. The next two steps are optional if you want to decorate your butterfly garden solar light. I used two pipe cleaners twisted together to give my butterfly antennas, making one piece. Next, attach the pipe cleaners to the hanger with zip ties.

10. The last step is to add bling. I used some shiny flowers. Attach your bling with a glue gun, anywhere and as much as you like onto your butterfly.

That's it! Your easy butterfly craft for kids - garden solar light is done. Fun arts and crafts for kids (and adults) don't have to be complicated!
Now have fun and find somewhere really cool to hang your solar butterfly garden light. I hung mine from my sister's garden. My butterfly looks really pretty there and at night he glows!
Maybe it will keep the birds away!


My solar butterfly garden light looks really pretty during the day but check him out at night!

This was actually a fun arts and crafts kids project to make and fun for adults to help as well!
I hope you enjoy making this easy butterfly craft for kids - garden solar light. I would love to see the pictures of your butterflies, so please share in the comments after you make one.
Did you enjoy reading this post? Be sure to pin this Easy Butterfly Craft For Kids - Garden Solar Light post and save it for later!


